


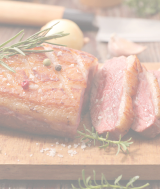


Sous Vide Loca London Broil
London Broil has always had a certain cachet for me. It’s definitely a cut of meat that I always want to prepare with a lot of respect and awe. Because every time I eat it, it brings me back to my days sitting around my family table, arguing with my brothers and having my dad ‘remind us’ that this was a special occasion and we had to act the part.
We didn’t have a lot of money growing up, so steak and regal cuts of meat were not often seen or eaten. But when we did have it, my mother would consult with a half a dozen cookbooks to make sure she prepared it as perfectly as she could. And my mom always prepared it on the medium-well side of the doneness scale, hence the arguments at the table with my brothers over who was getting the ketchup first.
Well those days have changed. London Broil is still special, but now I’m cooking it. And I’ve picked up a few tricks along the way that my mom just didn’t know about. And now, I’m going to share them with you, so that your kids won’t have to fight over the ketchup.
This recipe may at first glance seem a little complicated. However, have no fear, it’s really a lot easier than you think. Besides, if you’ve never cooked sous vide, here’s your chance to boldly go where my mom never dared tread.
For the Steak:
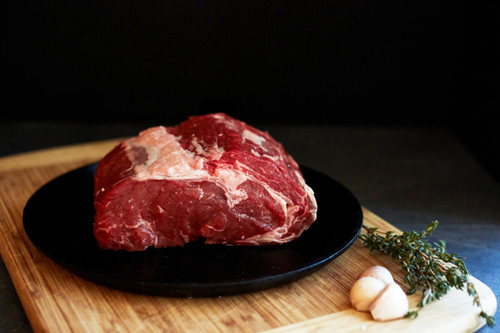
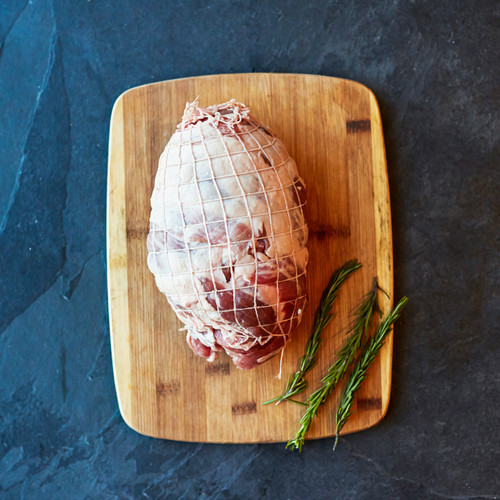
- One KOL Foods 100% grass-fed, London Broil (5 to 6 lbs)
- Kosher Salt
- Granulated Garlic
- Brown Sugar
- Fresh Cracked Black Pepper
- ½ to 1 Tablespoon Liquid Smoke (optional)
For the Rub:
- ½ to 1 – Tablespoon Kosher Salt
- 1 Tablespoon Granulated Garlic
- 1 Tablespoon Smoked Paprika (Sweet or Spicy)
- 1 Tables spoon Brown Sugar
- ½ to 1 Tablespoon Cinnamon
- 1 Teaspoon Cardamom
- Hint of Celery seed
For the Sear:
- 3 Tablespoons of parve organic margarine
- 6-8 Fresh Basil Leaves
- 6-8 Sprigs of Thyme
Additional Optional Equipment:
- Smoking Gun – Cold Smoker
- Sous Vide Water Circulator
Step 1: First, liberally sprinkle the London Broil with kosher salt, granulated garlic, brown sugar and some fresh cracked black pepper. Place the meat into a resealable bag. You want this first seasoning pass to sit on the meat for at least a half an hour before you expose it to any heat.
If you have a smoking gun, this is when you want to introduce the cold smoke into the bag and seal it. If you don’t have one, you can use the liquid smoke in the next step. By the way, the whole idea of using either the cold smoke or the liquid smoke is optional. So if you don’t have it, don’t sweat it, just eliminate it. The meat will still be fantastic.
While the meat is resting, prepare your sous vide bath. If you’re using a sous vide circulator set it to your desired temperature and get the water ready. If you don’t own one, you’ll need a large pot filled ¾ of the way with water. Put it over a low flame and slowly bring the temperature of the water up to 135 degrees for a medium rare London Broil. You’ll need a thermometer. Don’t guess the temperature.
You’ll also want to combine all of the spices together for the rub. In my opinion rubs are suggestions. If you like it saltier, add more salt. If you want it sweeter or spicier, adjust the mixture. You can also get bold and add a little coffee to the rub. Remember though, rubs often taste different once combined and cooked with the meat than they do just by tasting them by themselves.
Step 2: After the meat has rested with the salt, garlic, sugar and pepper for a half an hour, generously rub it down with the spice rub. If you’re using liquid smoke, rub a light coat onto the meat, BEFORE you apply the rub. If you have the time, you can let it rest again. If not, then just keep going.
Now place the rubbed London Broil into either a re-sealable plastic bag or into a vacuum seal bag. Vacuum seal if you can, other wise try and squeeze as much air out of the bag as you can and seal it.
If you’ve vacuum-sealed, place the bag into your sous vide bath. If you’re using the stovetop method, you need to constantly monitor the temperature. Consistency is key here. Don’t let the water get hotter than desired.
If you don’t have a vacuum sealer, simply place the bag into the water keeping the open end of the bag above the water. The top of the bag can be clipped to the top of your pot with wooden clothespins or with metal spring clips from the office supply store.
Make sure that no water enters the bag. Also make sure that the entire piece of meat is submerged under the water. If you’ve done this correctly, the water pressure will squeeze the air out of the bag for you. Take your time.
Step 3: Sit back and relax. Pour a glass of wine. I like to pair this with the Chosen Barrel Reserve Cabernet Sauvignon. You want this to go for at least three hours. The extra time in the sous vide will help to tenderize the meat.
Using this method, as long as the temperature of the water stays the same and never gets too hot, the meat will end up at your desired doneness no matter how long it stays in. 125 for rare. 135 for medium rare, 145 for medium and anything above that, just write me a check for whatever you’re going to spend on the meat. It will be money better spent.
Step 4: When time’s up, take the meat out of the sous vide and let it rest in he bag. Many people will put the meat, while still in the bag into an ice bath to cool it quickly. You want the juices to reincorporate back into the meat. You also don’t want it too hot, because in our next step we’re going to sear the outside of the meat.
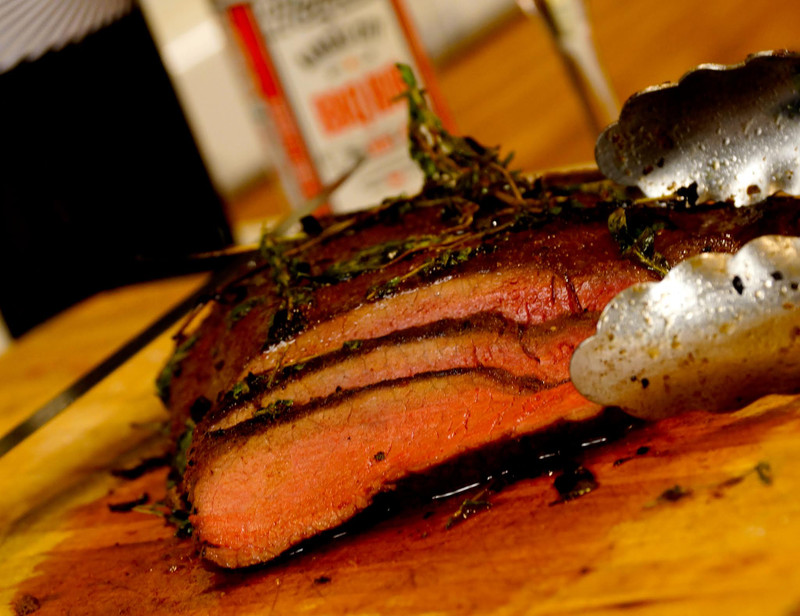
Step 5: After the meat has rested, get a cast iron skillet blazing hot. You can also use a grill, but it must be very hot. Cut open the top of the bag. Take the meat out and season again with some kosher salt. Reserve the drippings in the bag. They’re great reduced down with some shallots and wine for a flavorful au jus.
Put about a tablespoon of margarine in the pan, add half of the fresh basil and thyme to the pan and immediately put the London Broil in the pan. Don’t move the meat or keep checking it. You can glaze with the margarine and herbs. In fact I recommend rubbing the herbs on the meat as it sears. After about a minute or so, flip the meat, add more margarine and keep rubbing the herbs . If the herbs start to get wilted, add a little more.
Once you have a good sear, take the meat out of the pan and let it rest on your cutting board for at least ten to fifteen minutes. I like to take the herbs from the pan and let them rest on the meat as well. Or take the herbs and any pan juices and add them to your shallot/wine reduction.
Once rested, simply slice against the grain. The meat should be a very consistent color all the way through the slice. I like to serve this very simply on top of my shallot/wine reduction. I’ll put some lightly grilled vegetables or Asian style green beans . . . whoops sorry, this is a fancy recipe . . . char braised trendy veggie of the week or haricots verts in an oriental sesame reduction.
Step 6: Gather the family. Pour some more wine. And celebrate the fact that you’re all together. With this recipe, no one has to fight over the ketchup, although you may end up fighting over the last slice.